Things have been pretty busy here but I am working to get all caught up so although today isn't Friday, we are going to get going again anyway!
We will start with all the blocks that everyone has been working on.
First is Mom's Contrary Wife:

Mom even tried some fussy cutting so we have her first Snowball block:

And her second Snowball block!

Then we have her Calico Puzzle:

And her Wrench:
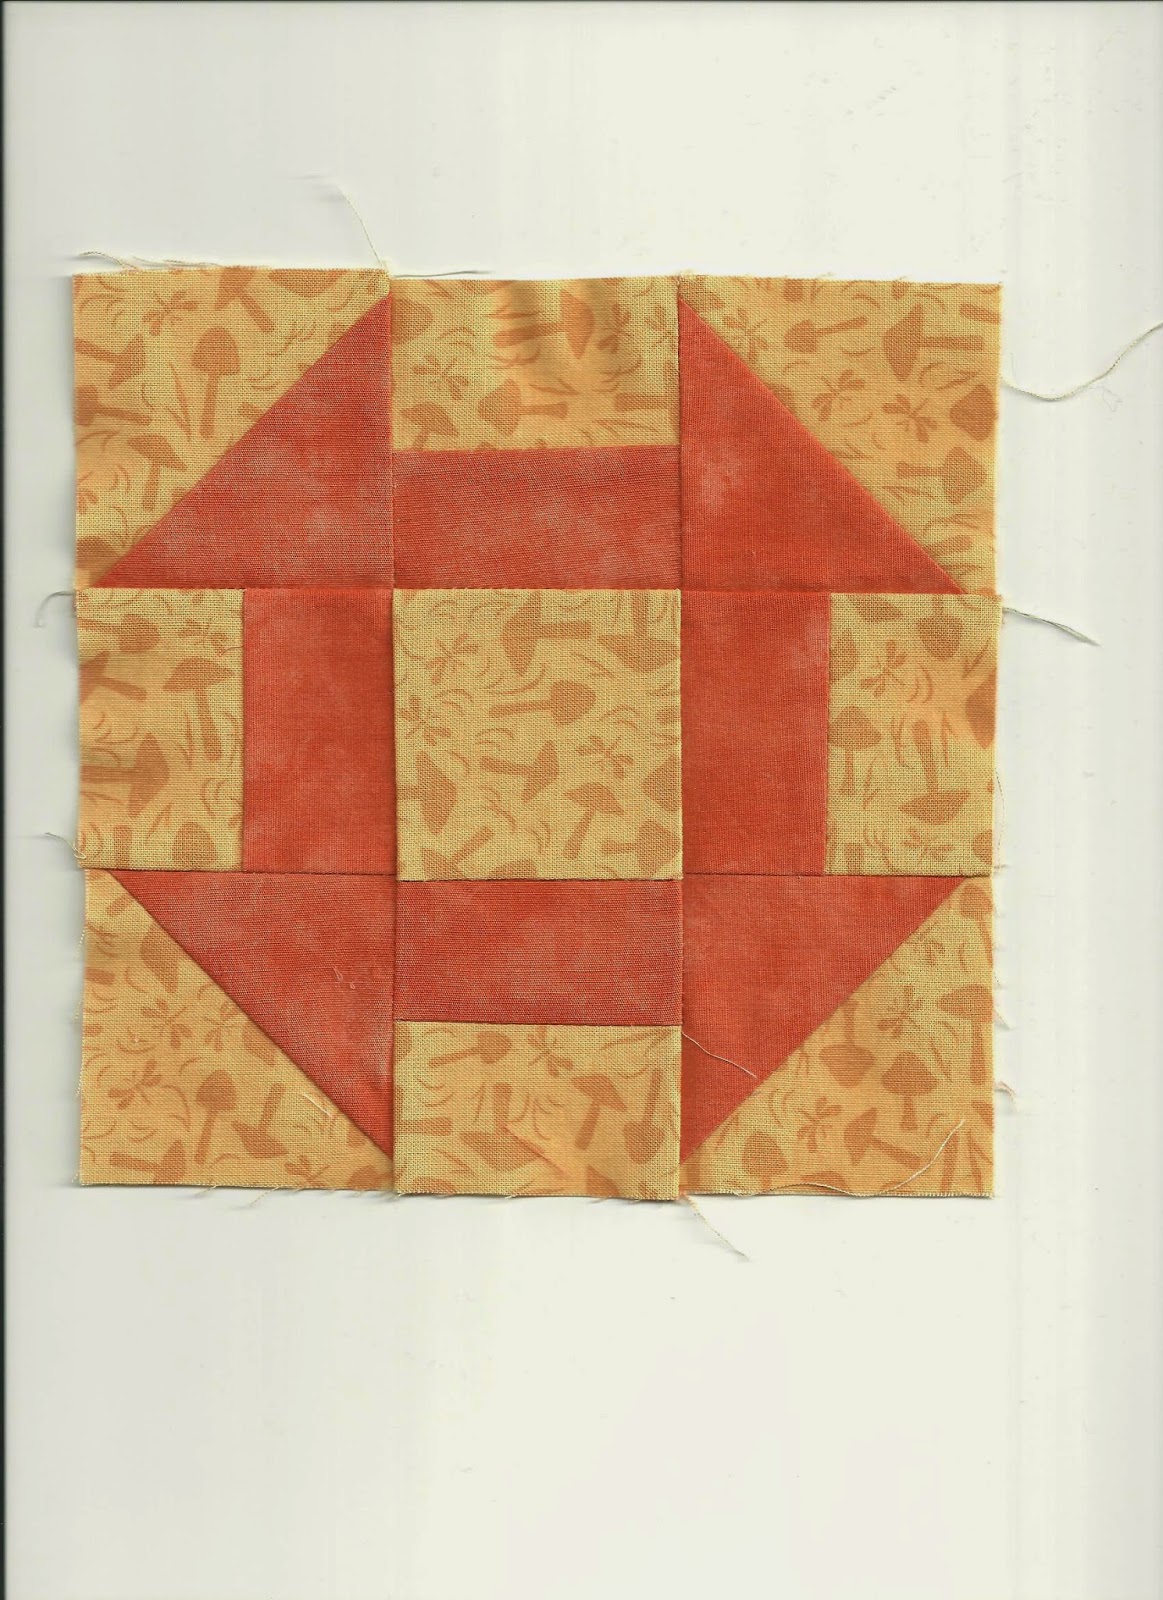
And lastly for Mom this week, her Churn Dash:

Now we will do Marian's Blocks. First we have her Streak of Lightning:

Then we have her Cut Glass Dish:

And her Star Gardener:

Her Four Winds:

Marian's Economy:

Gentleman's Fancy:

Kitchen Woodbox:

Single Wedding Star:

Bat Wing:

And last, but not least for Marian, we have her Evening Star:

And we also have some beautiful blocks from Suzanne! First is her Kitchen Woodbox:

And her Single Wedding Star:

Next is Suzanne's Bat Wing:

And then we have her Evening Star:

Wow! That is a bunch of really beautiful blocks. I still love how different the same block can look just by changing the fabric used. These photos have Suzanne and Marian up to date with the instructions I have posted. Mom is on her own schedule as a beginner but I am proud of her for getting done what she has. She has also been making two of each block that she makes in order to end up with a really big quilt when she is finished. Go Mom!
With all of that, we will start with the three blocks for week 17.
The first block we will do, I did in the way that made the most sense to me. If you have a different way to get this one done, then of course do it whatever way you want but this method made sense to me. So, first we will do Block #15 - Buzzard's Roost.
 Cut six 2" x 3 1/2" yellow rectangles.
Cut twelve 2" x 2" grey squares.
Cut one 3 1/2" x 3 1/2" grey square.

Place one grey square RST on the end of one of the yellow rectangles. Draw a line diagonally across the grey square. Sew directly on the line you just drew. Cut 1/4" from the seam you just sewed. Set the seam and press to one side. Repeat for each of the five other yellow rectangles.


Lastly, flip the Flying Goose pair RST with the centre rectangle so that the long sides of the triangles are along the edge. Sew a 1/4" seam, set the seam and press to one side. Flip the other Flying Goose pair RST with the centre rectangle so that the long sides of the triangles are along the opposite edge. Sew a 1/4" seam, set the seam and press to one side and the first block for week 17 is finished!

Our second block for week 17 will be Block #105 - Wild Goose Chase.
 Cut six 1 1/2" x 2 1/2" brown rectangles.
Cut six 1 1/2" x 2 1/2" blue rectangles.
Cut twelve 1 1/2" x 1 1/2" brown squares.
Cut twelve 1 1/2" x 1 1/2" blue squares.
Cut one 6 1/2" x 2 1/2" pink rectangle.
 Place one brown square RST on the end of one of the blue rectangles. Draw a line diagonally across the grey square. Sew directly on the line you just drew. Cut 1/4" from the seam you just sewed. Set the seam and press to one side. Repeat for each of the five other blue rectangles. Place one blue square RST on the end of one of the brown rectangles. Draw a line diagonally across the grey square. Sew directly on the line you just drew. Cut 1/4" from the seam you just sewed. Set the seam and press to one side. Repeat for each of the five other brown rectangles.

 Flip one Flying Goose pair RST onto another pair. Sew a 1/4" seam, set the seam and press to one side. Flip the final Flying Goose pair RST onto the four Flying Geese set. Sew a 1/4" seam, set the seam and press to one side. You should now have a line of six Flying Geese. Repeat for the other set of Flying Geese.
Flip one Flying Geese set RST onto the long pink rectangle. Sew a 1/4" seam, set the seam and press to one side. Place the other Flying Geese set RST onto the other side of the long pink rectangle. Sew a 1/4" seam, set the seam and press to one side and the second block for week 17 is finished!

The third block for week 17 is Block #25 - Cups and Saucers.
 Cut two 3" x 3" orange squares.
Cut two 3" x 3" blue squares.
Cut one 2 1/2" x 2 1/2" orange square.
Cut eight 1 1/2" x 2 1/2" orange squares.
Cut sixteen 1 1/2" x 1 1/2" blue squares.


Organize your pieces the way you want them to look. Once again you have a regular nine piece to put together like so many of our previous blocks.

Flip square 2 RST onto square 3 and sew a 1/4" seam. Set the seam and press toward square 3. Flip square 5 RST onto square 6 and sew a 1/4" seam. Set the seam and press toward square 5. Flip square 8 RST onto square 9 and sew a 1/4" seam. Set the seam and press toward square 9. Flip square 1 RST onto square 4 and sew a 1/4" seam. Set the seam and press toward square 4.


That is all three blocks for week 17 finished but of course we are a little bit behind on where we should have been so I will also post the instructions for week 18! Week 18 only had two blocks on the plan. Now, I miscalculated and ended up cutting more yellow and red pieces than I really needed so the pictures show that but the instructions that I am giving you are for what you actually need. The first block for week 18 is Block #109 - Windows.
 Cut one 4 1/4" x 4 1/4" red square.
Cut one 4 1/2" x 4 1/2" yellow square.
Cut two 2" x 3 1/2" brown rectangle.
Cut two 2" x 6 1/2" brown rectangle.

Place red square RST with yellow square. Pin on the diagonal. Draw a line diagonally on the wrong side of the lighter fabric. Sew a seam 1/4" from the line you have just drawn an then sew a seam on the other side of the line you drew. Then place your ruler along the line you drew and slice the two HSTs apart. Set the seam and press to one side. You should now have two red/yellow HSTs.


Lay your ruler along the diagonal, perpendicular to the seam you sewed. Slice the HSTs into two pieces so that each piece is half yellow and half red. Match your cut pieces so that your pieces are opposite colours. Place the pieces RST, sew a 1/4" seam, set the seam and press to one side. I did this for the other two pieces so that I ended up with two Quarter Square Triangles (QSTs) but don't have a particular plan for them. Maybe I will end up using them later on but at least they are together.
 Organize your pieces the way you want them to look.
 Flip one small brown rectangle RST onto your QST. Sew a 1/4" seam, set the seam and press to one side. Flip the other small brown rectangle RST onto the opposite side of the QST. Sew a 1/4" seam, set the seam and press to one side.
Flip the larger brown rectangle RST onto the long side of the QST/brown piece. Sew a 1/4" seam, set the seam and press to one side. Flip the other large brown rectangle RST onto the opposite long side of the QST/brown piece. Sew a 1/4" seam, set the seam and press to one side. That is the first block for week 18 finished!

The second block for week 18 is Block #69 - Practical Orchard.
 Cut one 3 1/4" x 3 1/4" orange square.
Cut one 3 1/4" x 3 1/4" grey square.
Cut four 2 1/2" x 2 1/2" orange squares.
Cut four 2 1/2" x 2 1/2" grey squares.


Lay your ruler along the diagonal, perpendicular to the seam you sewed. Slice the HSTs into two pieces so that each piece is half orange and half grey. Match your cut pieces so that your pieces are opposite colours. Place the pieces RST, sew a 1/4" seam, set the seam and press to one side. I did this for the other two pieces so that I ended up with two Quarter Square Triangles (QSTs) but don't have a particular plan for them. Maybe I will end up using them later on but at least they are together.


Now flip square 7 RST onto square 4 and sew a 1/4" seam. Set the seam and press toward square 4. Flip the 2/3 set RST onto the 5/6 set, nest the seams neatly and sew a 1/4" seam. Set the seam and press toward the 2/3 set. Flip the 8/9 set RST onto the 5/6 set, nest the seams nearly and sew a 1/4" seam. Set the seam and press toward the 8/9 set. Flip the 1/4/7 set RST on the 2/5/8 piece, nest eh seams neatly and sew a 1/4" seam. Set the seam and press to one side.
That is the second block for week 18 is finished.

That is it for blocks for now. With this we are almost caught up again. The plan is to have the posts caught up this week. Have fun all!
Tara
That is the second block for week 18 is finished.
That is it for blocks for now. With this we are almost caught up again. The plan is to have the posts caught up this week. Have fun all!
Tara
No comments:
Post a Comment