Welcome back to our Agri-Spouse Friday Quilt Along.
The "Y" seams were not nearly as bad as I had feared.
The first block this week is Block #37 - Flower Pot.
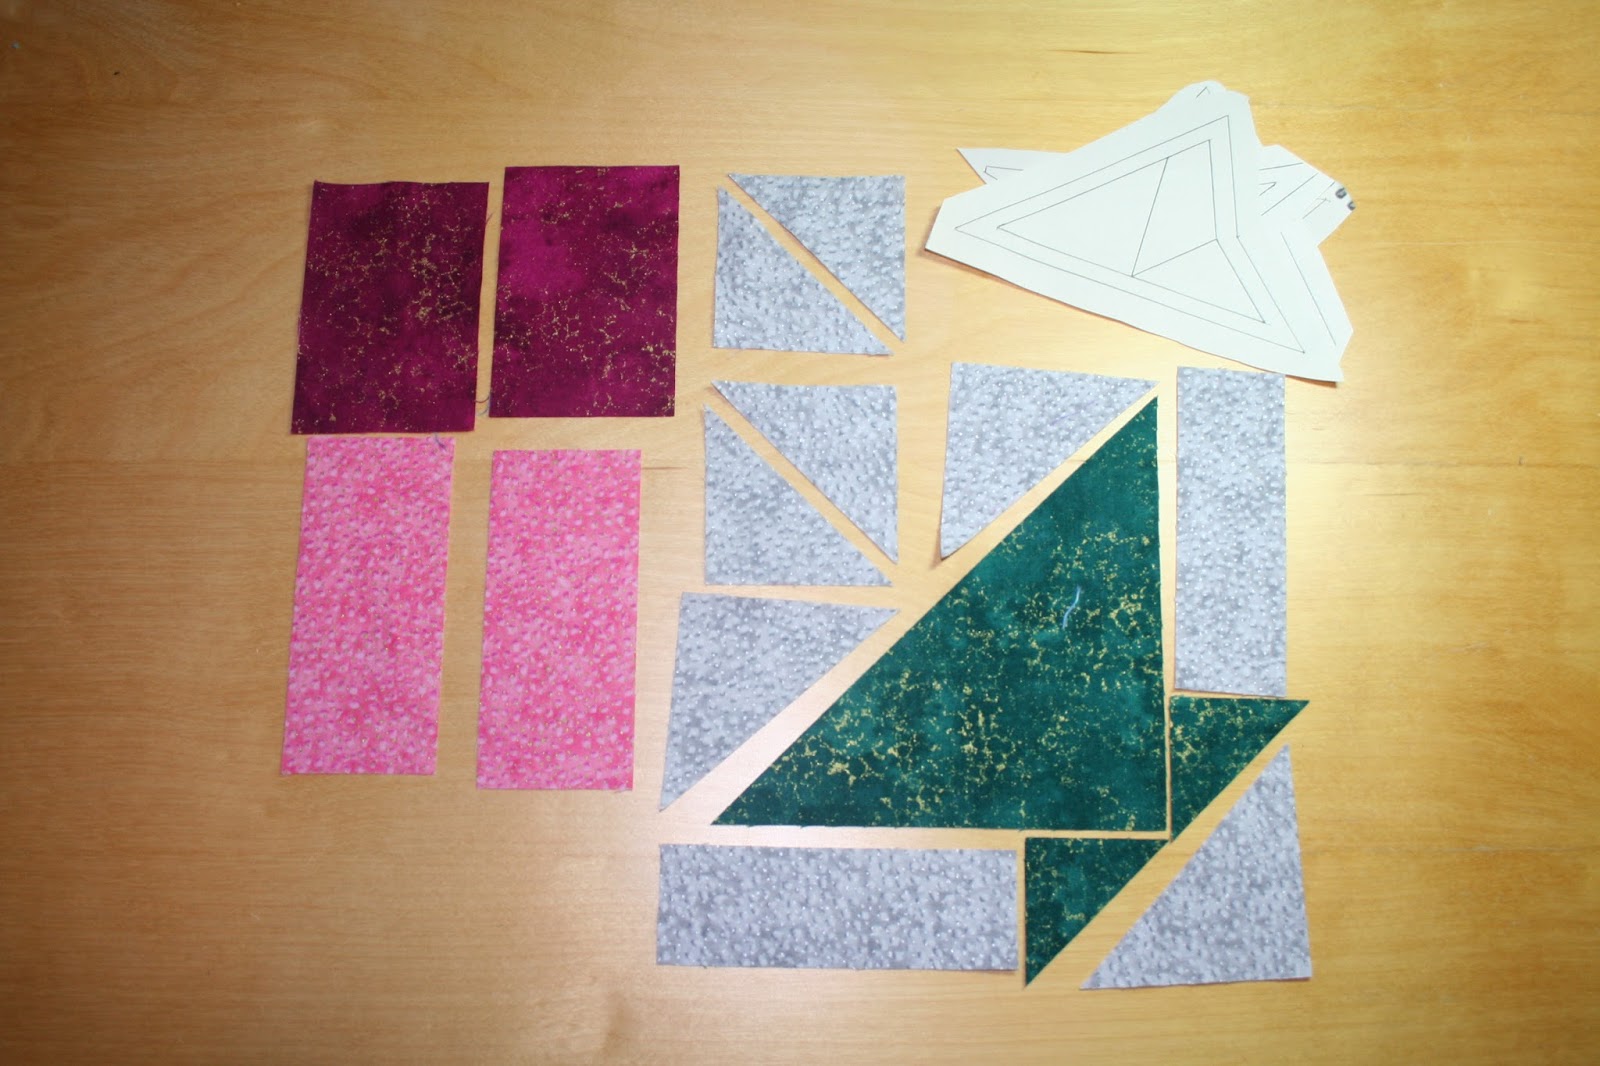 Cut two 1 1/2" x 4 1/2" grey rectangles.
Cut one 1 7/8" x 1 7/8" green square. Cut on the diagonal.
Cut four 3" x 3" grey squares. Cut these on the diagonal.
Cut one 5 7/8" x 5 7/8" green square. Cut on the diagonal.
Cut two 2 1/4" x 3 3/4" raspberry rectangles.
Cut two 2" x 4 1/2" pink rectangles.
Print the foundation papers.

Place the pink rectangle right side up on the wrong side of the smaller foundation paper. Place a grey triangle RST with the pink rectangle. Pin the three pieces together, flip this over and sew on the stitch line. Repeat with the other pink rectangle and the other small foundation paper.
Place the raspberry rectangle right side up on the wrong side of the larger foundation paper. Place a grey triangle RST with the raspberry rectangle. Pin the three pieces together, flip this over and sew on the stitch line. Repeat with the other raspberry rectangle and the other larger foundation paper.
Place the smallest green triangle RST with the grey rectangle so that the right angle corners match up. Sew a 1/4" seam, set the seam and press to one side. Repeat with the other green triangle and grey rectangle.

Place another grey triangle RST with the raspberry rectangle. Pin the three pieces together, flip this over and sew on the stitch line. Repeat with the other raspberry rectangle and the other larger foundation paper. Trim all of the foundation papers a 1/4" from the outer stitch line.
Place one of the grey rectangles RST with the large green triangle so that 1/4" of the small green triangle hangs past the big green triangle. Sew a 1/4" seam, set the seam and press to one side.

Place the other grey rectangles RST with the large green triangle so that 1/4" of the small green triangle hangs past the big green triangle. Sew a 1/4" seam, set the seam and press to one side. Organize the four foundation pieces the way you want them to look.
Place a large foundation paper RST with a small foundation paper so that one of the seam lines match. Put a pin through the corner stitch point of the pink diamond and then put the pin through the corner stitch point of the raspberry diamond. Pin the two pieces together well. Starting with the needle in the hole you made with the pin at the corner points, take a few stitches, then backstitch ensuring that you do not backstitch past your starting point and then stitch forward again until you go off the edge.
Take this out of the sewing machine and refold your piece so that the seam that you haven't sewn yet lines up well and pin the seam well. Slide the needle into the hole you made at the beginning with the pin, take a few stitches, then backstitch ensuring that you do not backstitch past your starting point and then stitch forward again until you go off the edge. Repeat with the other two foundation pieces.

Place the two foundation pieced triangles RST. Sew a 1/4" seam, set the seam and press to one side. I removed the foundation papers at this point.
Centre the long edge of the remaining grey triangle RST with the edge of the two small green triangles at the bottom. Sew a 1/4" seam, set the seam and press to one side.
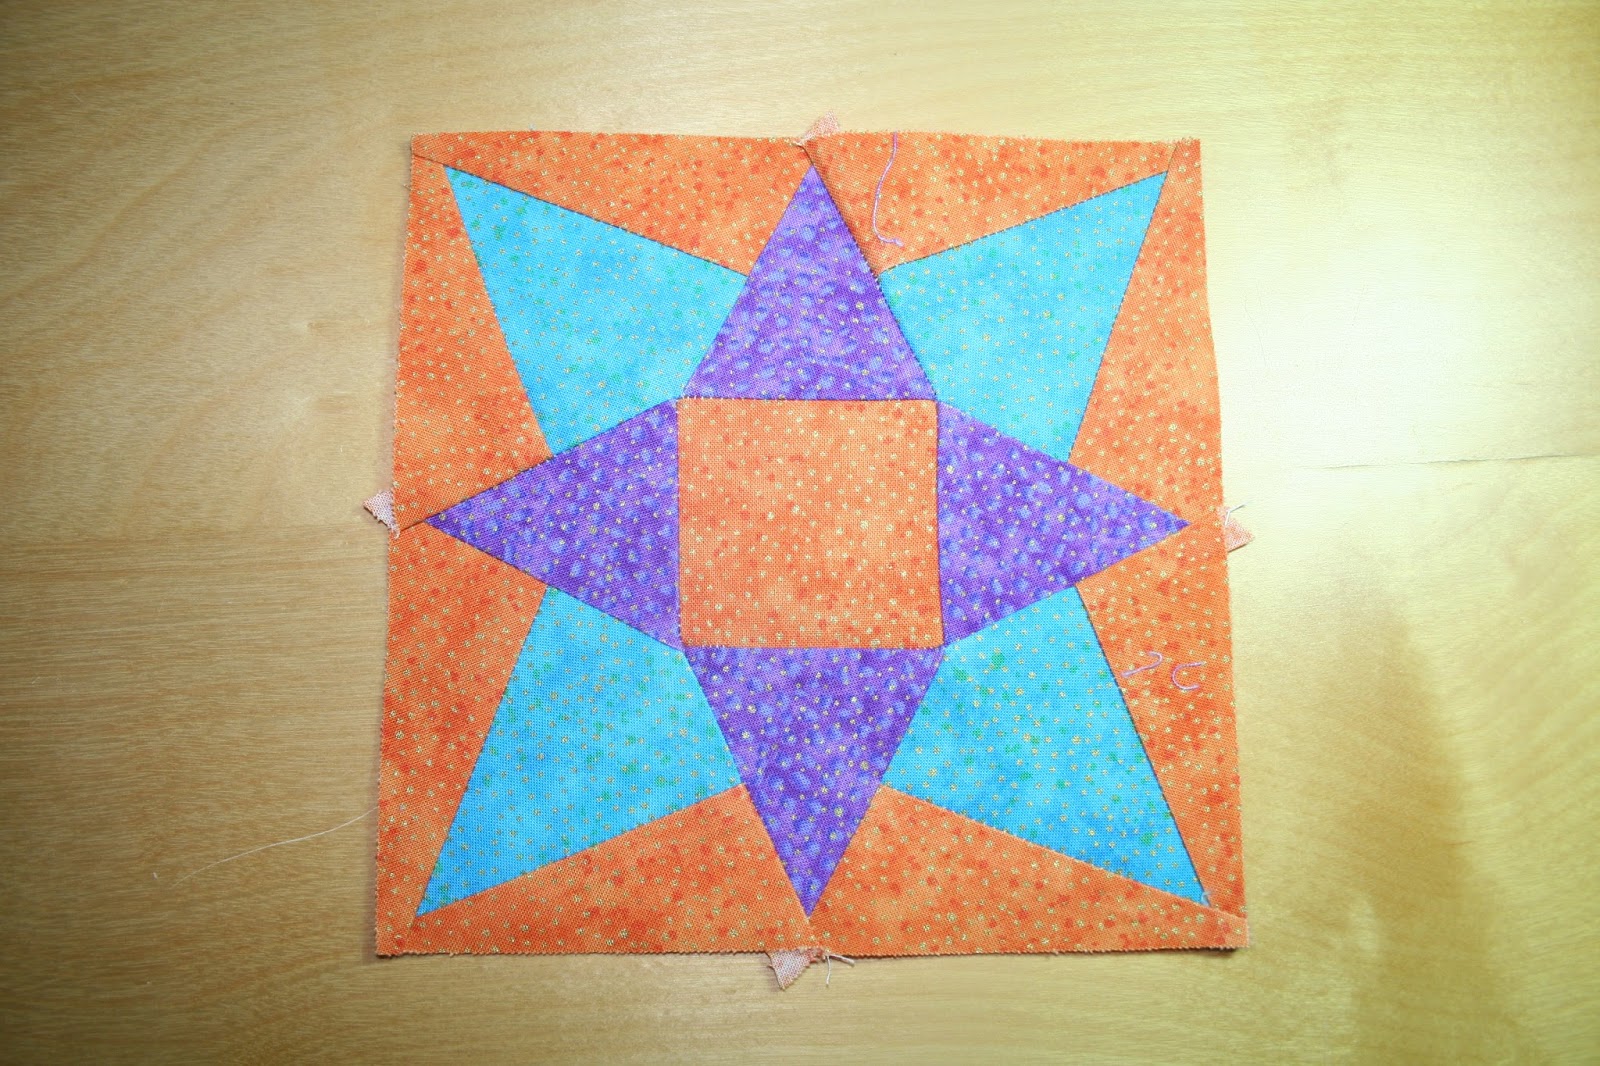
Lastly, centre the top triangle RST with the bottom piece. Sew a 1/4" seam, set the seam and press to one side and the first scary "Y" seam block is complete!

Our last block is Block #47 - Homemaker.
 Cut four 4" x 3" blue rectangles.
Cut eight 2 1/4" x 4" orange rectangles.
Cut one 2 1/2" x 2 1/2" orange square.
Cut four 3" x 3" purple squares.
Print the foundation papers.


Place another orange rectangle RST on the other side of the blue rectangle. Pin the three pieces together. Flip this over and sew on the stitch line and press open. Place the purple square RST with the orange/blue piece. Pin the three pieces together. Flip this over and sew on the stitch line and press open.

Trim the foundation pieces 1/4" from the outer stitch line.
I put three of four dots of UHU glue stick onto the foundation paper to hold the orange square for the centre piece in place so that the sewing lines were easier to see.

Now we start the "Y" seams. Place the edge of the purple triangle along the edge of the orange square. Put a pin through the stitch corner point of the triangle and then through the corner stitch point of the orange square. Pin the two pieces together. With the orange square up, stitch starting 1/4" in along the stitch line and stop 1/4" from the other end. Then place the edge of a second purple triangle along the next edge of the orange square. Put a pin through the stitch corner point of the triangle and then through the corner point or the orange square. Pin the two pieces together. With the orange square up, stitch starting 1/4" in along the stitch line and stop 1/4" from the other end. Now refold the patch so that the edge of the blue/orange piece lines up with the edge of the purple triangle. Place the needle of the machine into the corner point and stitch a 1/4" seam, running off the edge like you normally would.
Place the edge of a third purple triangle along the edge of the orange square. Put a pin through the corner stitch point of the orange square. Pin the two pieces together. With the orange square up, stitch starting 1/4" in along the stitch line and stop 1/4" from the other end. Now refold the patch so that the edge of the blue/orange piece lines up with the edge of the purple triangle. Place the needle of the machine into the corner point and stitch a 1/4" seam, running off the edge like you normally would.

Remove the papers from the back and iron your patch flat and the very last block of our quilt is complete!
I was worried about these two blocks for a long time but they weren't nearly as bad as I thought they would be.
Also, it is super exciting to have all 111 blocks put together. Next week, sashing and cornerstones.
Have fun,
Tara.